|
Custom Sew On Patches
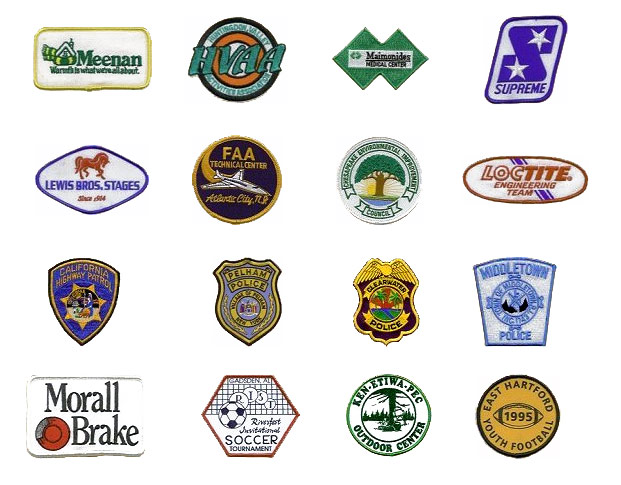
 Adding an embroidered patch to any ensemble can turn a bland article of clothing into something that is personal and unique. Embroidered patches can be personally designed for any theme, hobby, or sport, and can be worn on various articles of clothing. There are many ways to affix a custom made patch to a piece of material, but the most popular method of attachment is sewing it on. This article will help detail how to correctly sew on an embroidered patch.
Step One: Gather Materials
There are a few key materials that are need to sew on a custom made patch: Sewing needle, safety pins, matching thread, a patch, the article of clothing that you want to adhere your patch to, and a thimble. Thread selection is a personal choice. You can choose to blend the thread with the color of the clothing. Or contrast it and match the thread to a color on the patch.
Step Two: Place your patch
Patch placement can make or break your outfit. Make sure the patch is evenly spaced, centered, and straight before you begin to sew. Popular placement areas are on the upper left breast or on the arm. After you decide where to place the patch, secure it to the article of clothing with the safety pins. This will prevent the patch from moving while you are sewing. Once your patch is secure, start to thread your needle. When the needle is properly threaded, poke it through the corner of the patch and the material; this is considered your first stitch. Pull the needle until there is almost no thread left on the other side, and tie a knot: completing the stitch. The knot will secure that the stitch does not come out. Next, thread the needle through the patch facing up, about two millimeters away from the first one, then pull it tight. This process must be completed around the circumference of the patch until the entire patch is stitched to the article of clothing.
Step three: Finish your Project!
After you have stitched the entirety of your patch, take the end of the thread and poke it through the opposing side of the patch. Then, secure it with a knot and cut of the excess. The last and final step is to display your new custom made patch! All your hard work should be proudly displayed for the world to see!
|


